Template Cut-out Instructions:
WHERE YOUR SAFETY GLASS WHEN
CUTTING AND FINISHING ON THE PANEL.
Printing the template
- Download the template 7078_bezel.pdf or here (Email me if you have problems accessing the file.)
- Print all 3 pages. The thicker the paper (8.5”x11” card stock
for example) the easier it is going to be to work with. Use a light colored card stock. The
template print is light.
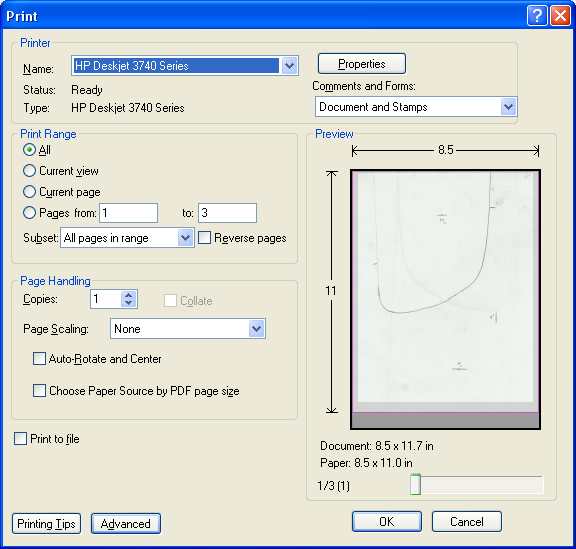
- When printing make sure that the printer setup is set for 0
page scaling.
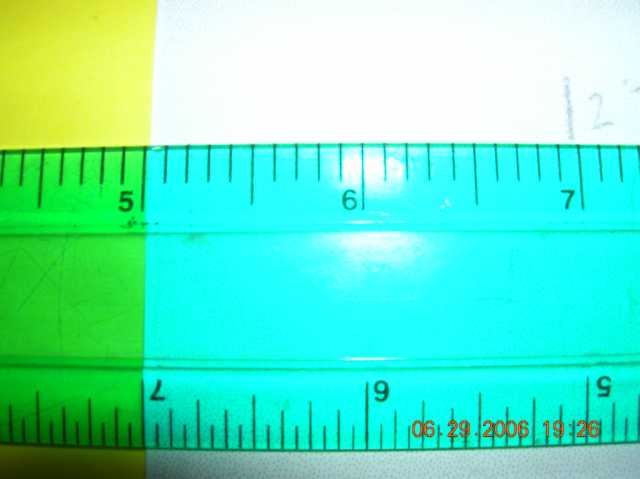
- You will notice on each page there are 2” hash marks from the
edge of the page. After you print the page make sure you measure 2” from
the edge of the paper to that mark. It doesn’t have to be machinist
perfect but it will be very close. Sometime the paper in the printer
doesn’t align properly and it will throw off the 2” mark. This is
important for get the proper bezel shape.
- Align the pages together. The shorter end of the bezel goes to
the right when looking at the bezel head on. Turn the drawing over.
- Tape each page together on the back of the drawing. ALIGN THE PAGE
AS PERFECT AS YOU CAN!!!!
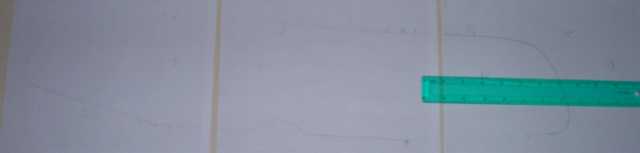
- Flip it back. Looking at the drawing you will notice the lines
don’t connect on the edges of the paper. You can draw straight lines
across to fill those in. The bezel template is marked with a line on one
page and a line on the other page. Between those two marks are a straight
line. This holds true even after you cut the bezel out. No matter how
wigley your template is between those points you can cut a straight line
between them. You don’t have to
draw the line between the points, its just easier to visualize. The line
doesn’t have to be perfect. The perfection comes in when you transpose the
marks to the actual metal.
- The carrot marks annotate where the bezel bend marks are. Draw
a line from top to bottom of those marks.
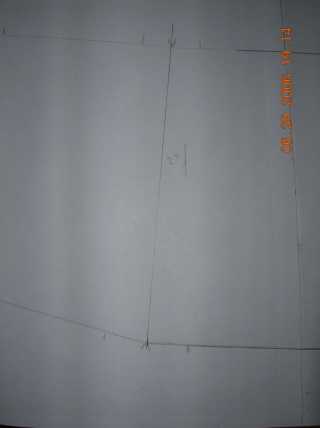
- Double check the bezel was printed out properly and everything
looks good. Measure from top to bottom the following. Your measurements
should be close.
- 5 7/16” Left bend
- 5 1/2" Left part of half moon to top
- 5 1/2" Right bend
- Before cutting add some more tape on the back strictly on the
inside of the template to make the paper stronger.
- Before cutting extend straightline marks onto the inside
portion of the bezel. Otherwise, you will loose these after your cut off
the excess paper.
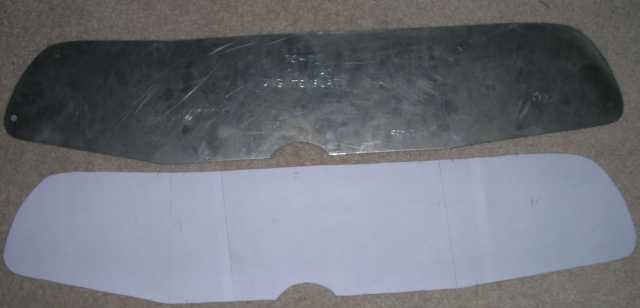
- You are now ready to cut out the template. When cutting the
most important areas are the edges and the small spaces by the bend carrot
marks. Cut and follow as straight, steady, even, and following the contour
the best you can. If you mess up, Start Over. The template is where
everything will follow from. Remember to stay on the lines. The inside
clear part is the actual template. You should not see any outline marks
when you are finished cutting. Cut SLOW for better accuracy. When its done
is should look like a panel.
Home